S.O.S. Complete Kit Instructions
Congratulations on purchasing the newest innovation in archery stabilization!
The ACU Archery S.O.S. is a tuned-mass damper designed to remove excess vibrations/sight picture movement out of your shot while you aim and execute your shot. This device uses the same technology that has been developed to stabilize skyscrapers against wind turbulence and earthquakes, medical devices used for surgery, and even in F1 cars for a short time before being deemed too much of an advantage for the racers.
Just like no two buildings are the same, no two bows or shooters are the same either. This means that finding the perfect spot for your S.O.S. is going to take some time and testing to find the exact location that gives you your best aim. That being said, we have found a few common mounting locations that work as great balance points to help you get started.
First, you will want to remove your S.O.S. Complete Kit from the packaging.
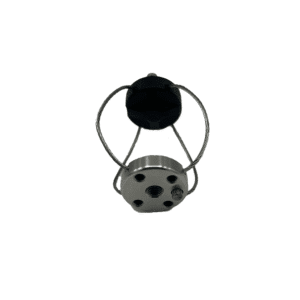
Inside your package, you will find:
SOS Mounting Block
One Stiff Wire

One Biased Wire
Riser Stud and 1 3/4" 5/16"-24 Lag Bolt
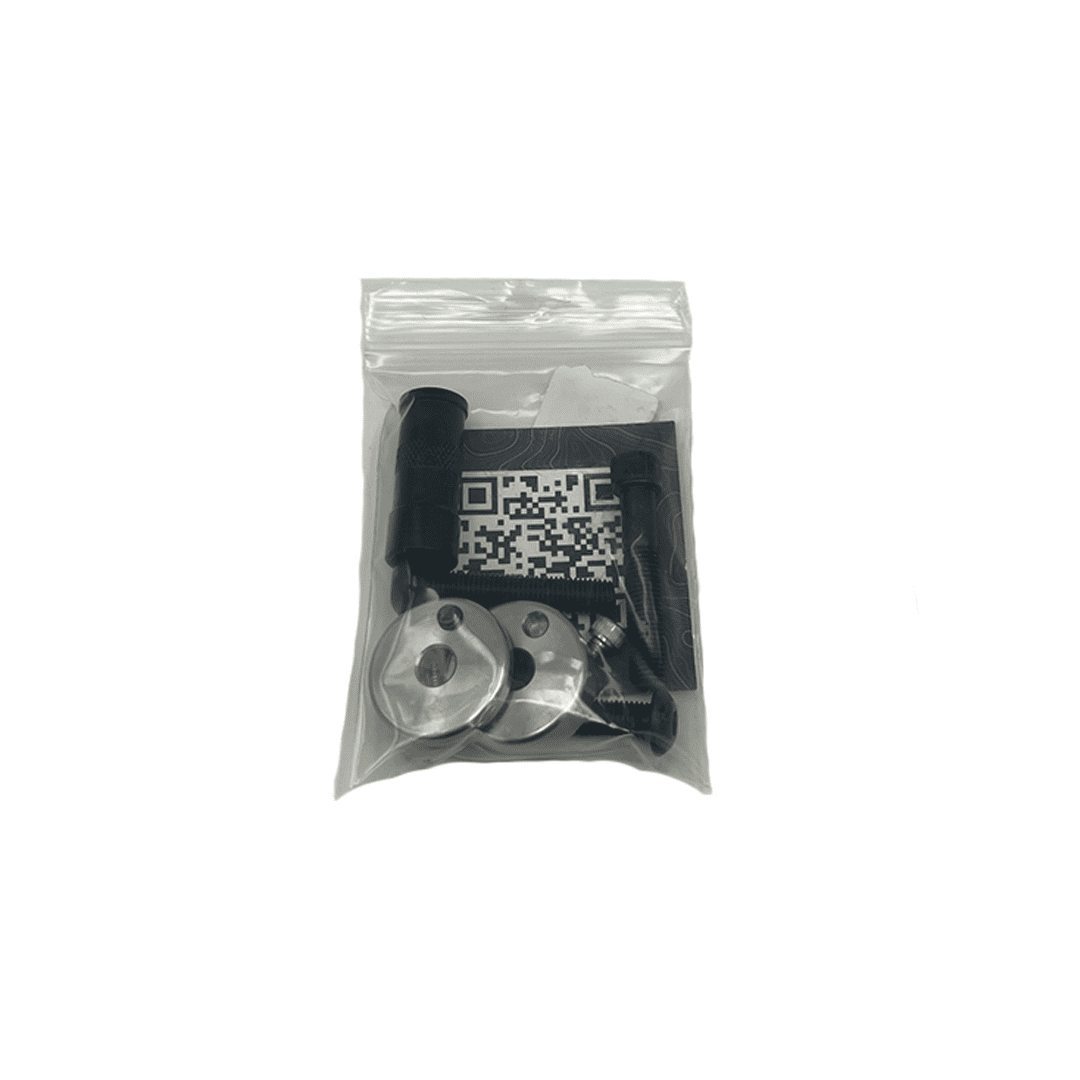
Hardware Bag
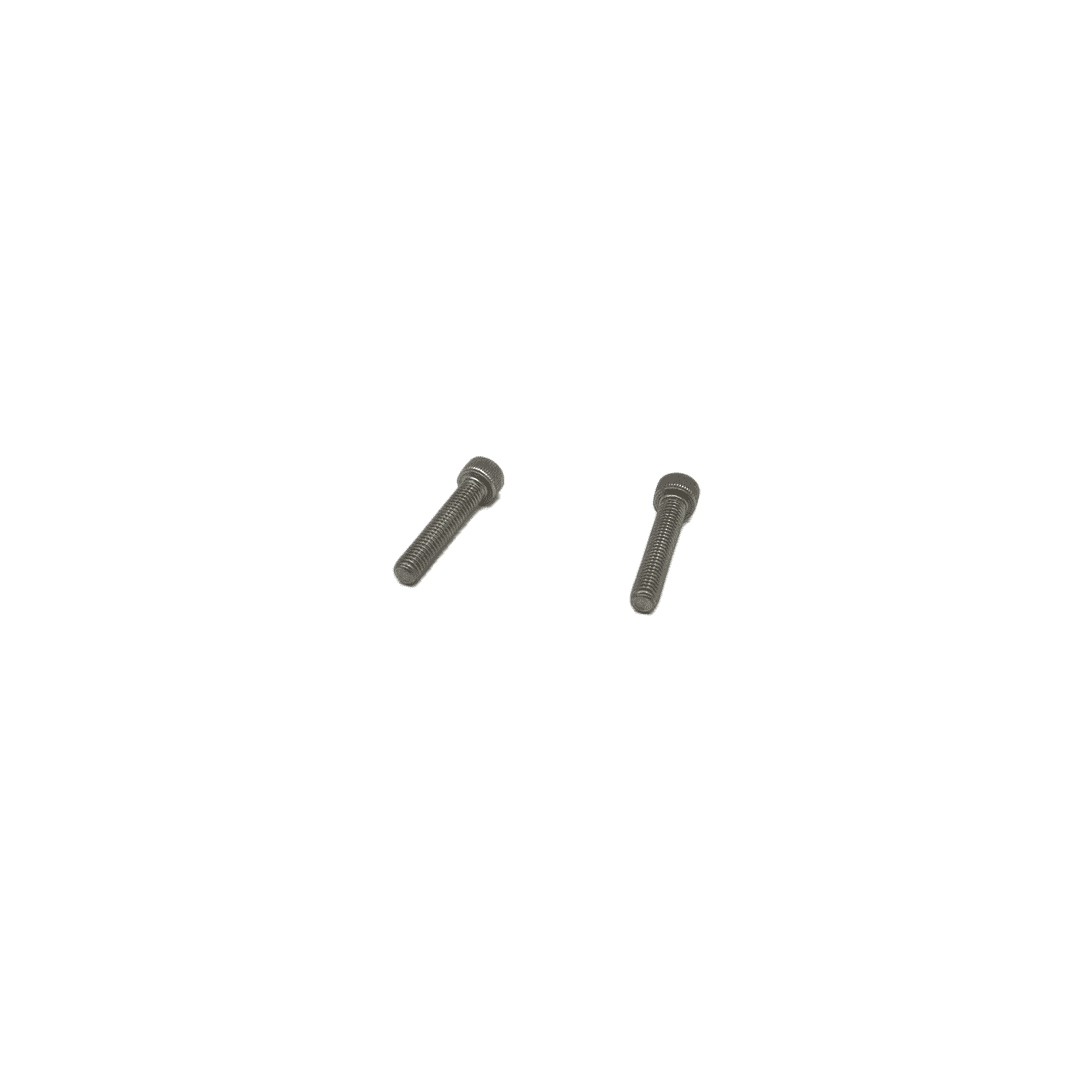
Long 10-32 Lockdown Bolts
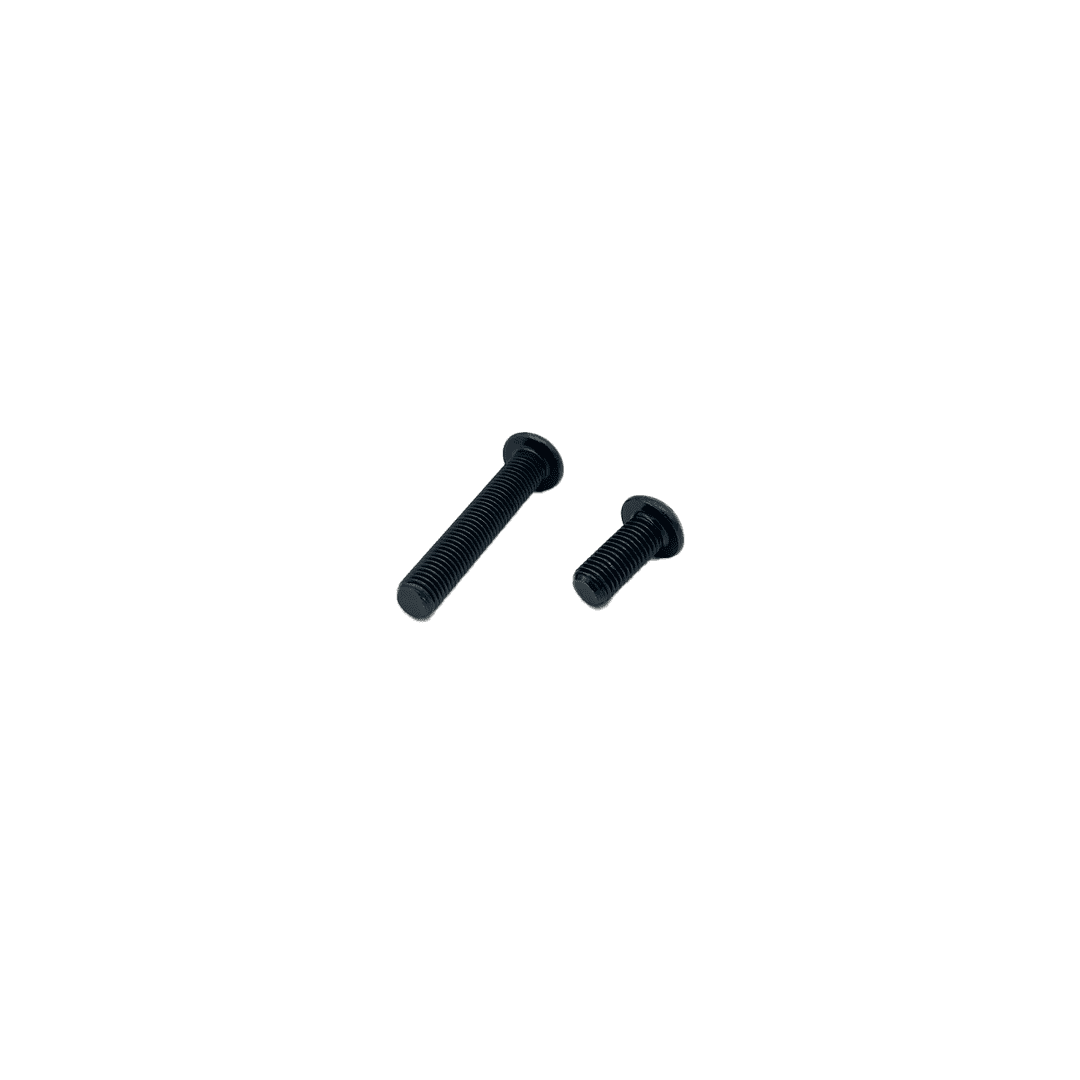
5/16"-24 Weight Bolts
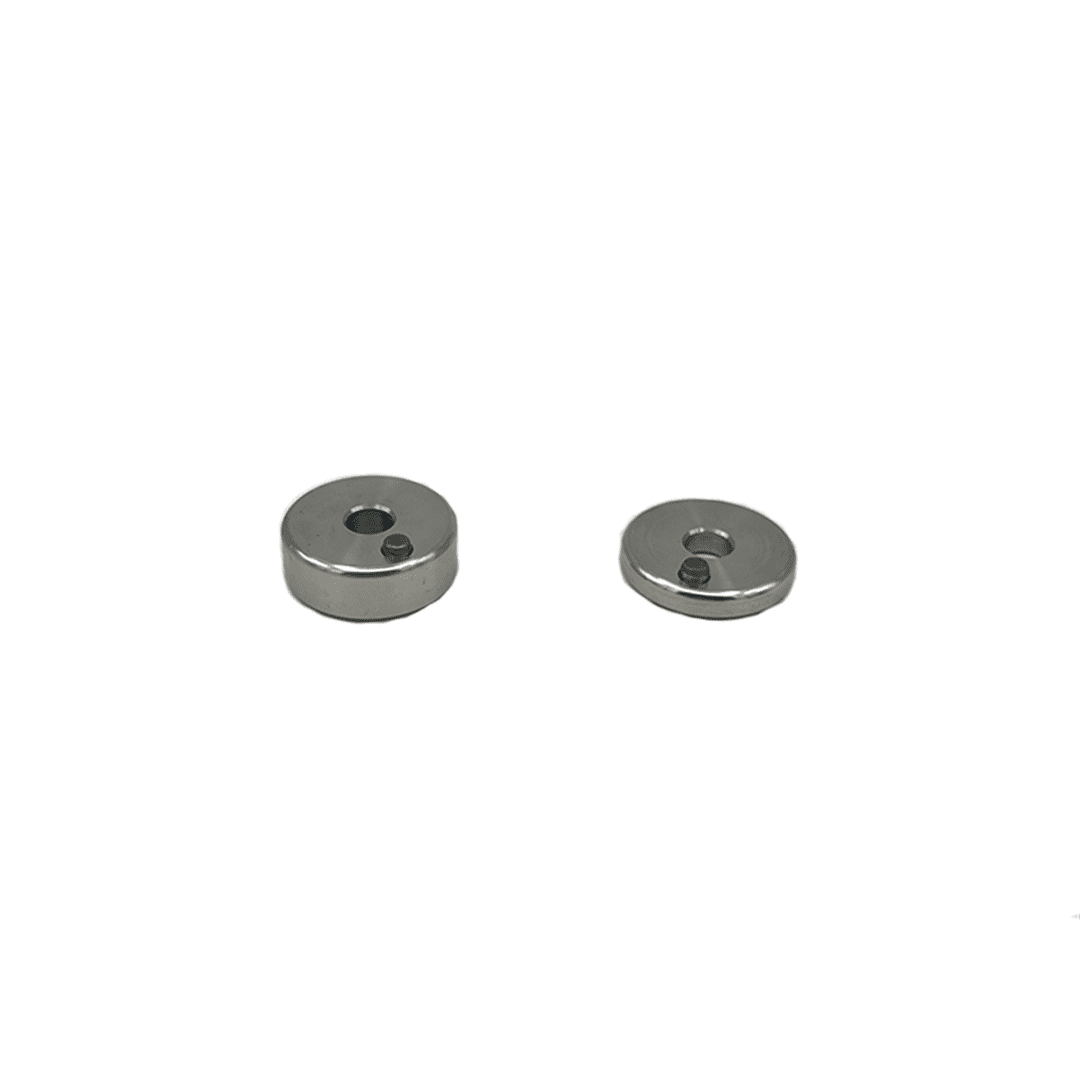
2oz and 1oz Weights
Installation Steps
Step 1: Checking your Package Contents
Open the package and confirm pieces with the parts listing above
Step 2: Deciding your Mount Location
First we need to decide if you will be mounting the SOS on your stabilizer or via the Riser Stud.
For V-bars, we suggest the Riser Stud or mounting on the front stabilizer.
For bows with a single back bar, we suggest mounting the SOS Unit to the stabilizer or via the Riser Stud.
Step 3A: For Riser Stud Mounting
You can attach your riser stud to any open 5/16″-24 riser hole on your bow. This is the common sizing for a stabilizer slot. We recommend using the shorter 10-32 Lockdown bolts to tighten the clamp around your riser stud. Tighten until snug, until the unit will not rotate with moderate force.
Step 3B: For Stabilizer Mounting
You can also attach your SOS Mounting bracket to your stabilizer. Use the short 10-32 Lockdown bolts if your stabilizer is .500 – .600 in diameter. Use the long 10-32 Lockdown bolts if your stabilizer is .650 – .750 or you are using the Bridge-lock Stabilizer.
Step 4: Installing your Wire Unit
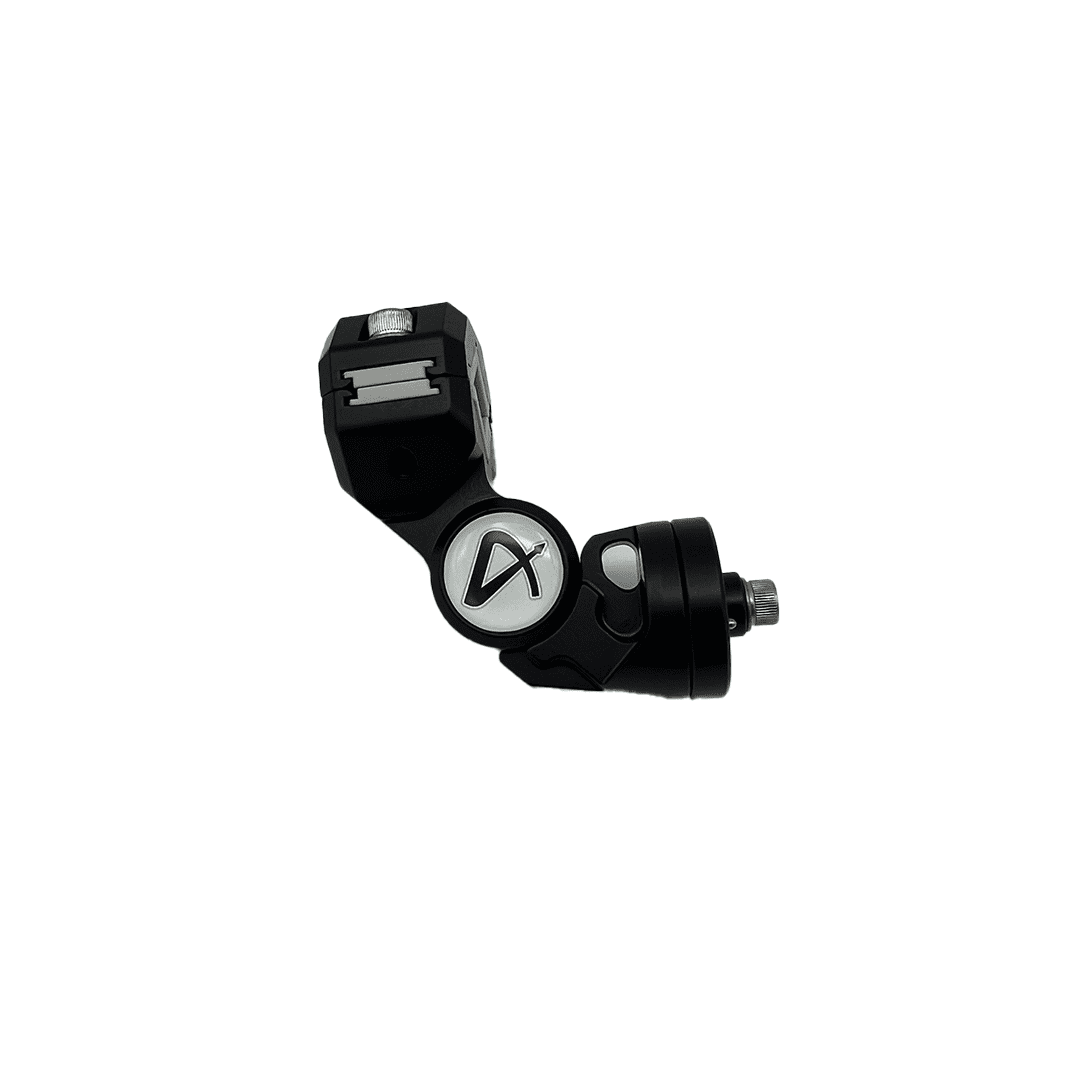
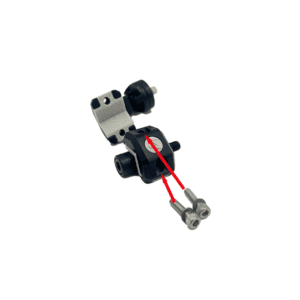
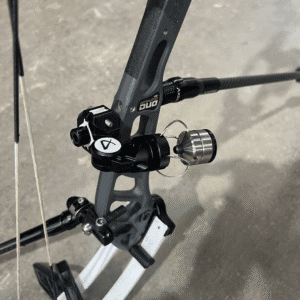
Now that we have your bracket mounted to your bow, we can mount the wire unit to the Mounting Bracket.
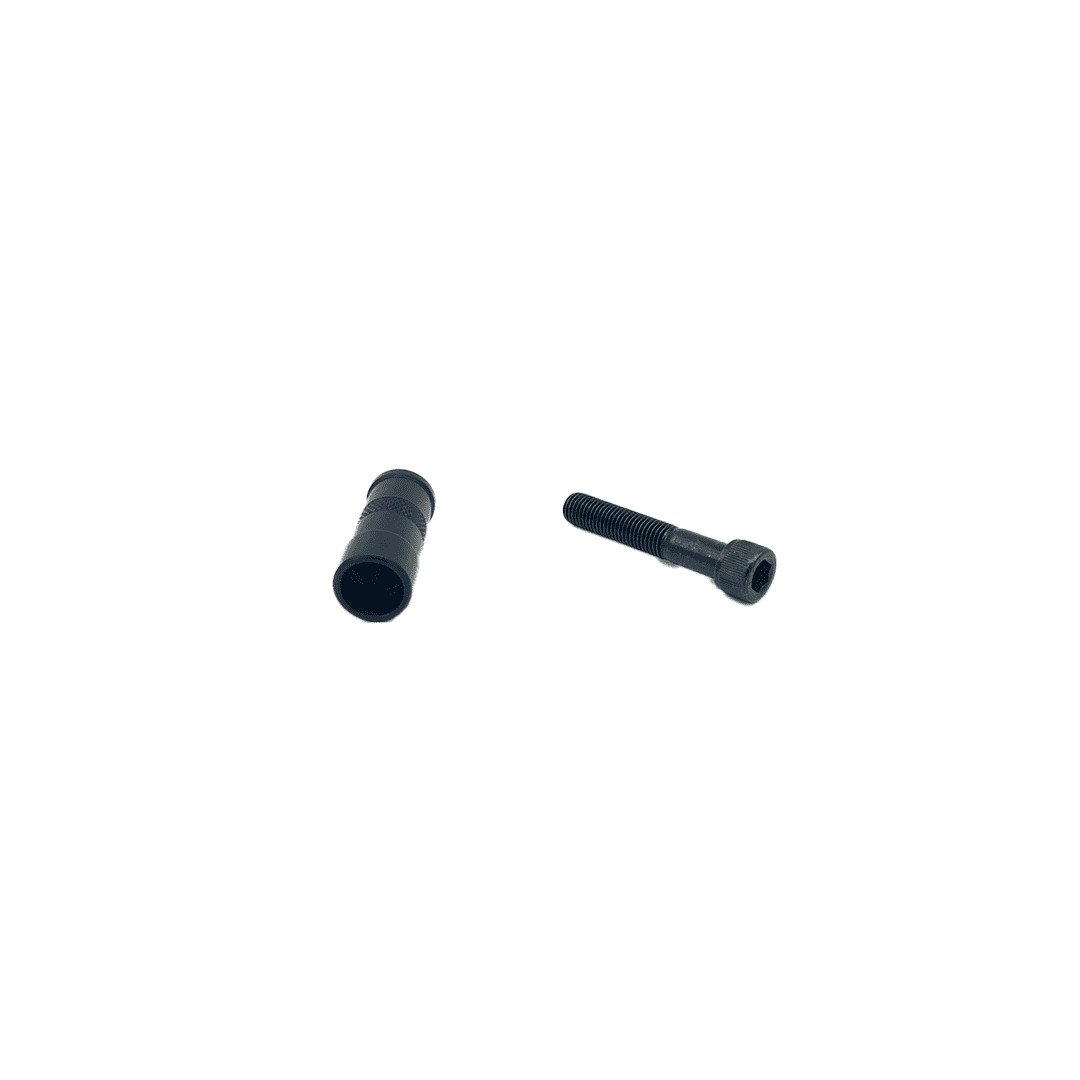
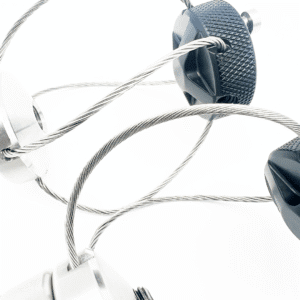
Insert the pins on the Wire Unit into Pin Receiver Slots on the bracket as shown in image A. Once inserted, rotate clockwise and the two pieces will snap together. Then, you are able to lockdown the set screw for the quick disconnect via a 5/64″ allen wrench as shown in image B. Rotate the allen wrench clockwise until tight.
A.  B.
B. 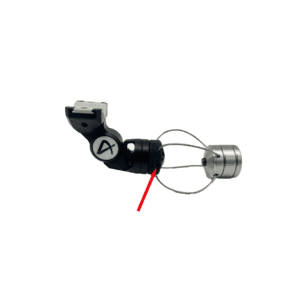
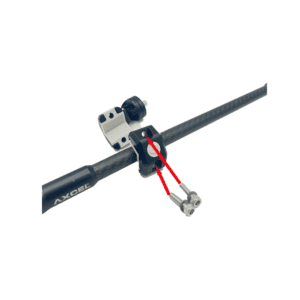
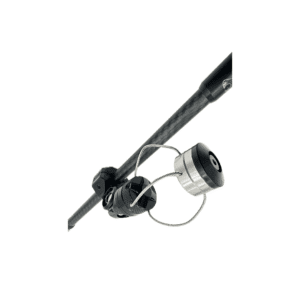
Step 5: Orienting your Wire Unit
Now that you have mounted your bracket to your bow and can interchange wire units via the Quick Disconnect, it’s time to orient your wire unit via the clocking ring.
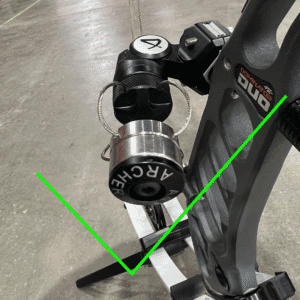
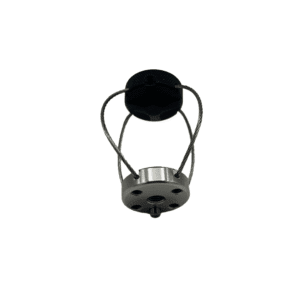
For your S.O.S. unit to function at full capacity, it is important that the wires are positioned in a vertical orientation.
Proper Orientation is shown on Figure A.
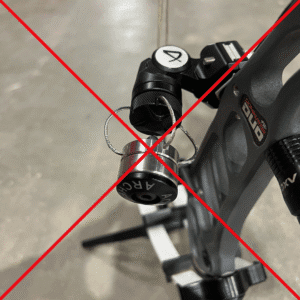
Exaggerated Poor Orientation is shown on Figure B
To adjust, loosen (counter clockwise) the clocking ring bolt via a 1/8″ Allen wrench, rotate the clocking ring to the appropriate location and then tighten snug (clockwise).
Adjusting your SOS Angle
The final piece of adjustment for your SOS is fine tuning the exact angle that you would like your wires facing. This is no different than adjusting the angle on your stabilizer – you are adjusting your overall bow balance with this movement.
Simply loosen the angle adjustment screw (counter clockwise) shown below, adjust your unit to the desired angle and then tighten the screw to snug (clockwise) to lock in the new angle.
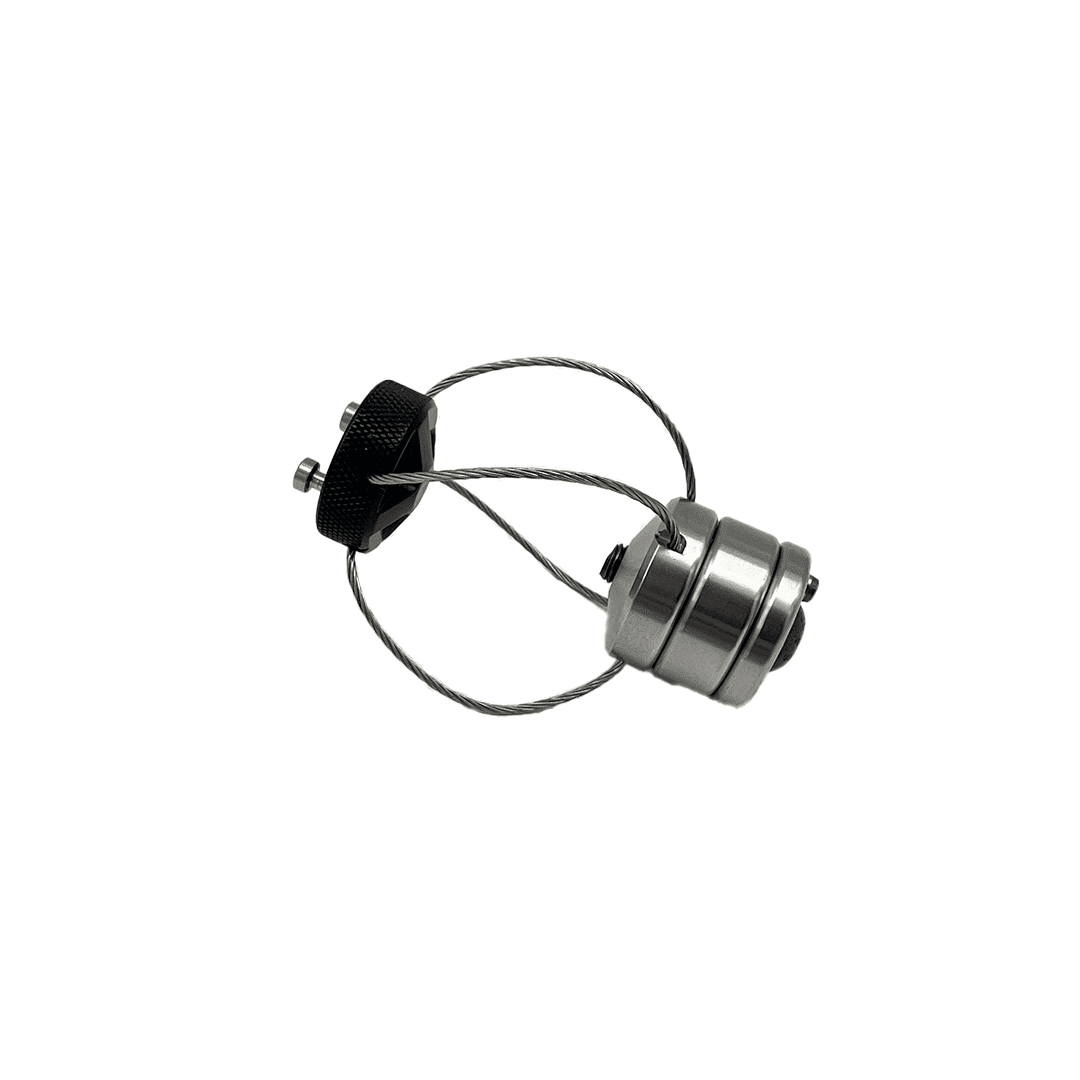
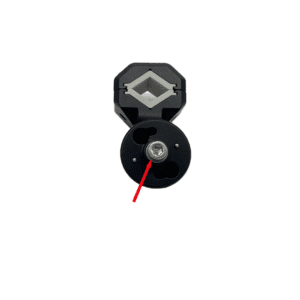
** Determining Weak or Stiff Wires **
Stiff wires are shown on the top unit, weak wires are shown on the bottom
Advanced Tuning Steps
Wire Orientation is very important.
Stiff wire units are designed for someone with an overall loose aiming pattern. They can be manipulated by their positioning to help with up/down movement or left/right movement but the overall correction will be less than with the biased wires.
The biased wires are designed for someone who has a strong directional movement in their sight picture, for example a sight pin that moves primarily left/right or someone who suffers from “dip-bangs.” For left/right movement, you will put the stiff wires left and weak wires right, or vice versa. For up/down movement, your stiff wires will on top, weak wires on bottom, or the other way around. To discover which positioning is best, you will need to test. It depends on the pressure that the archer is exerting into their bow to determine which positioning is best – like with overall S.O.S. positioning, there is no one-sized-all approach.
If you are unsure of which way your wires are oriented, simply flex them up/down and then left/right. Whichever way the wires are easier to move, that’s the way the unit is currently set up to counteract. To flip your orientation, simply remove the wire unit from the mounting block, adjust your clocking ring as detailed above, tighten, and reinstall the wire unit.
Stiff Wires
Left to Right
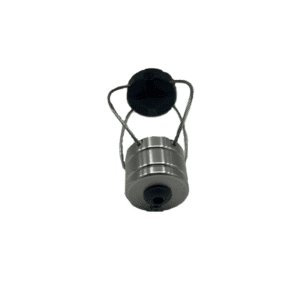
Stiff Wires
Up and Down
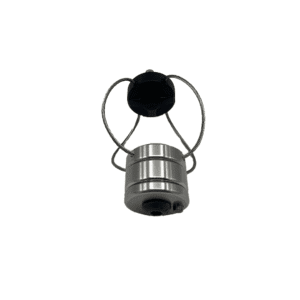
Biased
Left to Right
Biased
Up and Down
Fine tuning your S.O.S. position
Now that we have your S.O.S. unit installed on your bow and an understanding of the wire orientations and what they’re designed to do, we need to find the perfect position for your unit.
For a riser stud mounted S.O.S. you can angle your unit and you can mount the unit facing forwards or backwards. The further the wires are away from the grip of your riser, the more leverage will be on the unit and the greater the force the unit will have when correcting your aim. For more stability, add more weight. If the unit is over-correcting your aim, reduce the number of weights attached to your wires.
For a stabilizer mounted S.O.S. you can adjust your device’s leverage by adding weight or by sliding the unit further away from your bow. The farther away from the grip of the bow that the wires are located, the more the device will be correcting your aim. Closer to the grip of your bow, the device will provide less correction. We suggest starting with the unit mounted so that the wires and weights are located as close to in line with your grip as possible (height does not matter, only depth) and then slowly backing the unit away until you notice that the device is over-correcting your aim. Then, begin moving the unit back towards the bow until you find your sweet spot! The beauty of the S.O.S. Complete Kit is that it can be designed to help anywhere from acting as bumpers on a bowling lane to providing the gentlest of guidance for someone looking to bridge the gap to 30X.
For any further questions, you can reach us by email at info@acuarchery.com or our office phone number (606) 947-8111. We are also available via social media and private messages on Facebook (ACU Archery) and Instagram (@ACUArchery).